Leveling & screeding
To level a slab with a vibrating screed, rest the vibrating beam on the fresh concrete right after it has been placed and poker-compacted, switch on the vibration, and draw the screed steadily backwards across the surface. Keep a small roll of concrete rolling ahead of the blade and overlap each pass so the whole floor is compacted flat in one continuous operation, before any bleed water appears.
Once concrete has been placed and compacted in depth with a poker vibrator, the top of the slab still needs to be compacted and levelled. That is the job of a vibrating screed. A vibrating steel or aluminium beam is drawn across the surface while it vibrates; the vibration brings the cement paste up to the top, closes the surface, and works the slab to a flat, even plane in a single pass. In other words, a poker consolidates the depth of the pour and the screed finishes the surface — the two tools work together on a floor. At Lievers we've designed and built concrete compaction and finishing machinery in Mijdrecht, the Netherlands, since 1954, and the method below is how we recommend levelling a slab.
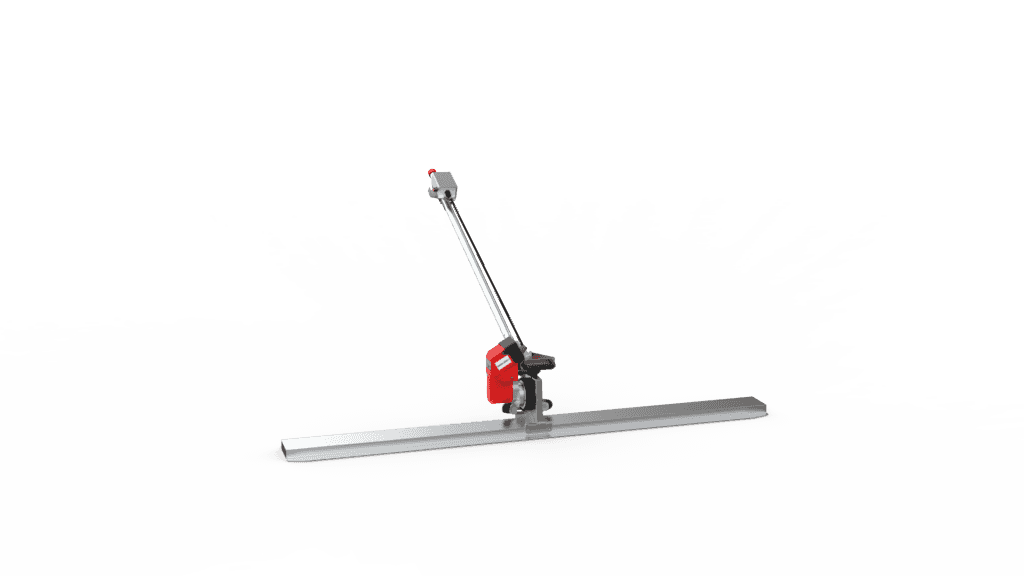
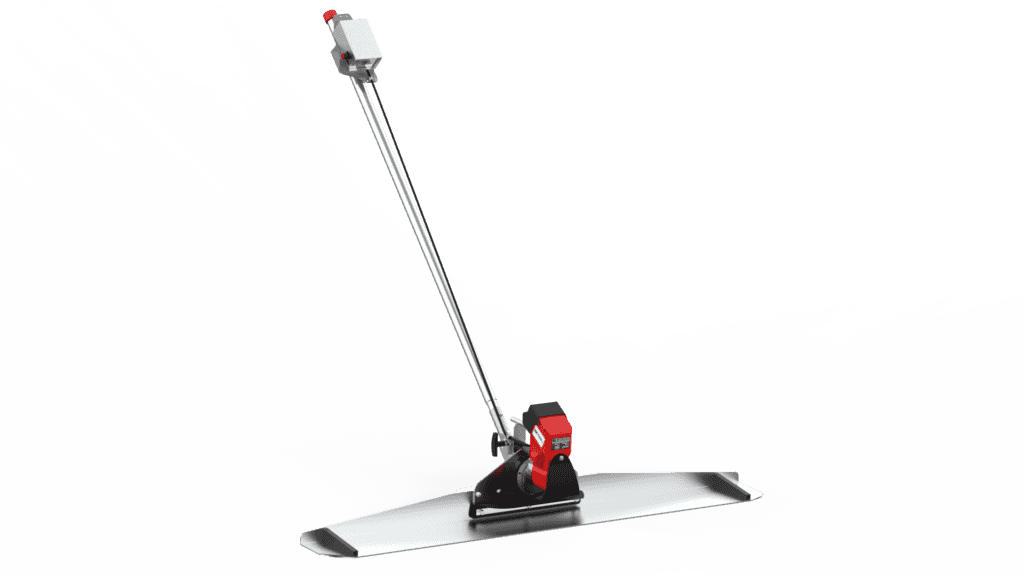
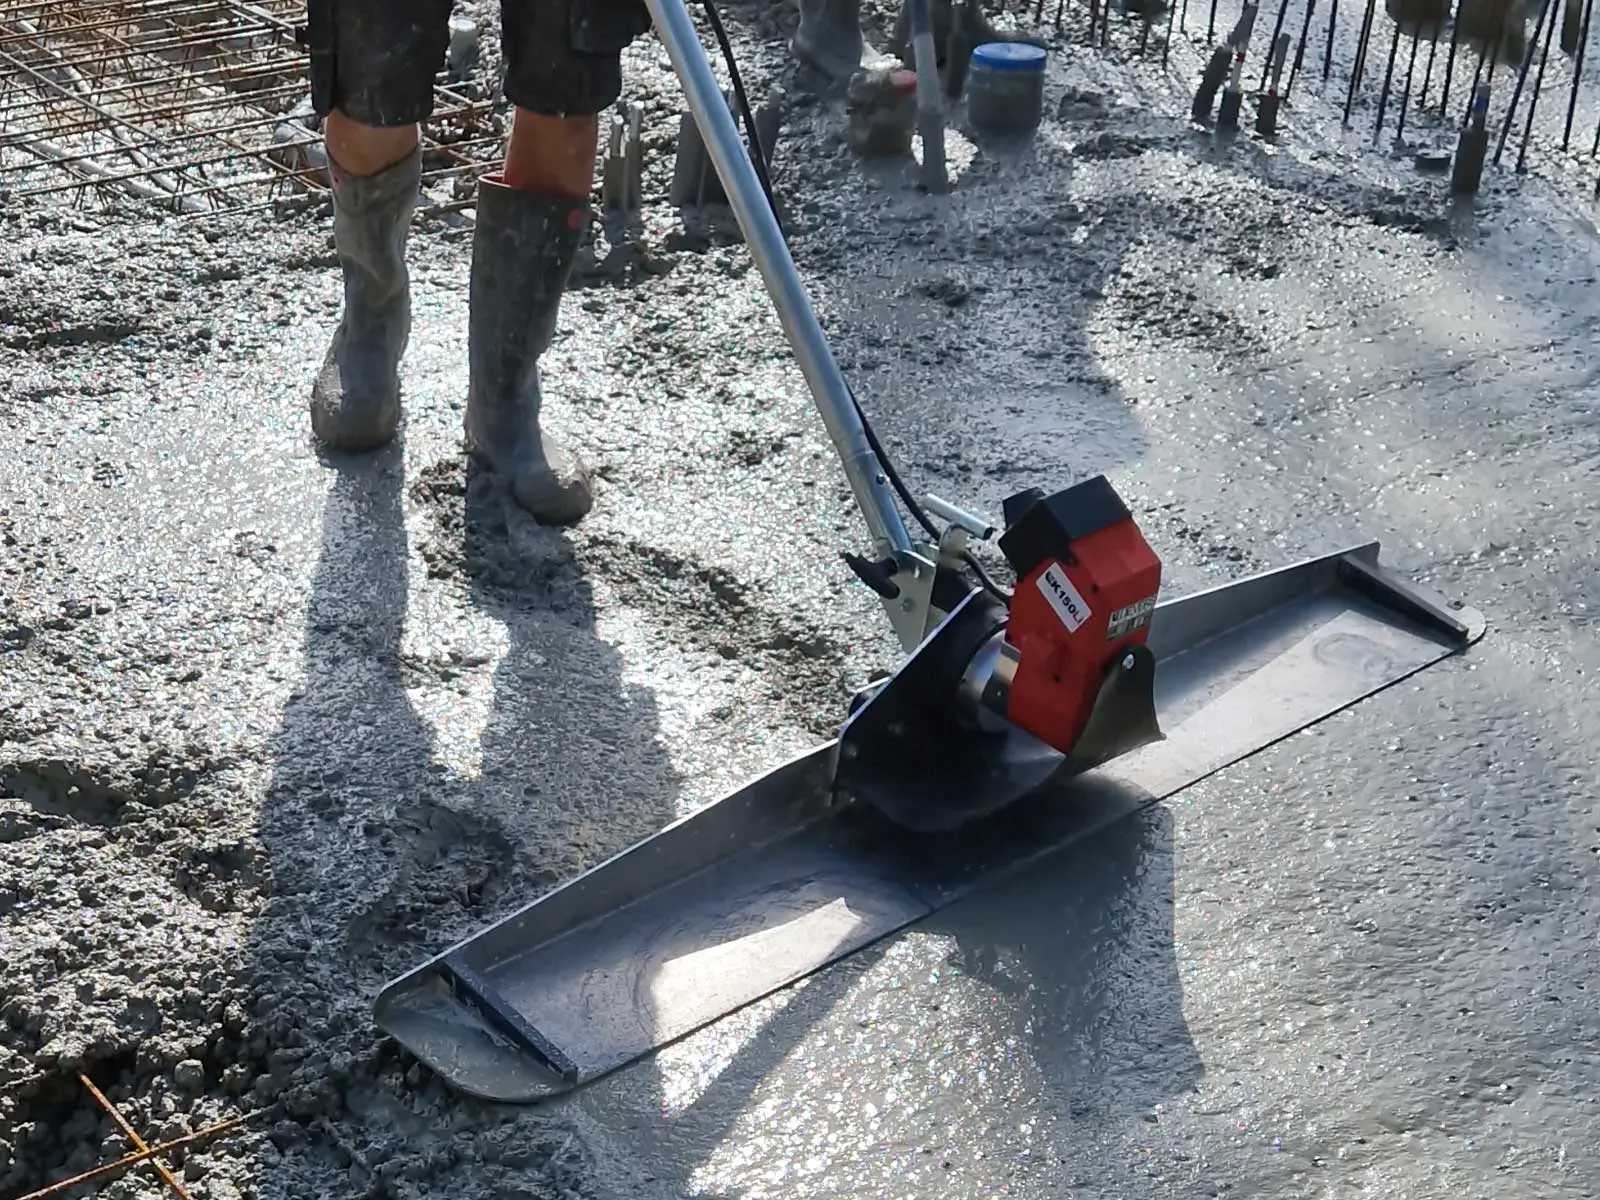
Before you start, decide what defines your finished level. On a form-to-form pour the side forms or screed rails are set to the finished height and the beam simply rides on top of them. On an open floor without rails, the finished level is usually set with a laser and checked as you work. Fit a beam width that suits the pour and the formwork, spray the beam with a form-release agent so paste doesn't stick, and place the machine on the fresh concrete close to where you'll begin. On a battery finishing screed such as the Lievers K150Li — a rail-free 1.5 m beam that a single operator can carry and run cordless — you start the vibration at its slowest setting and bring it up gradually until the blade begins to glide on its own.
There are two broad ways to guide the beam. A rail (form-to-form) screed spans between fixed forms or screed rails and rides on them, which gives a very repeatable level and suits large, open slabs — at the cost of setting and later pulling those rails. A rail-free or handheld screed rests directly on the concrete and is guided by the operator, so there are no rails to set, strike or work around. Lightweight cordless finishing screeds like the Lievers HAL200Li and K150Li are rail-free by design: the 1.5 m beam floats on the surface, its rounded, upturned edges avoid ridges and start/stop marks, and one person can finish an open pour without any guide rails at all. Rail-free screeds give flexibility and speed on floors; rail screeds give the tightest tolerance on big, form-defined pours.
When a slab is wider than a single handheld beam, split the floor into screeding lanes and finish them one after another, overlapping each lane by roughly 15 cm to keep the surface continuous. For genuinely wide bays, a longer vibrating beam or a truss screed spans the full width in one pass; these ride on rails or edge forms and are pulled across the whole lane at once, which keeps large floors flat with far fewer joins. On very wide beams the vibration has to be matched to the extra length so the whole blade works evenly. Whichever you use, an extra worker with a shovel to feed the roll of concrete and clear excess behind the beam keeps a wide pour moving.
Timing makes or breaks the finish. Screed right after the concrete has been placed and internally compacted with a poker, while the mix is still fresh and plastic and the vibration can still draw cement paste to the surface. Crucially, screed before bleed water rises: working the surface once water has bled to the top drags that weak, watery layer into the finish and leaves a soft, dusty slab. As a rule of thumb, for slabs thicker than about 10 cm compact with a poker first, then screed straight away — place, poker, screed, in a steady rhythm across the pour.
Free advice
Our engineers in Mijdrecht think along about machine choice, concrete and planning — answer within one working day.
About the author
Lievers Holland has designed and manufactured concrete compaction and finishing machinery in Mijdrecht, the Netherlands, since 1954. Our guides are written by the same engineering team that builds the machines.
Rest the vibrating beam flat on the fresh, poker-compacted concrete, switch on the vibration until the beam floats on the surface, then draw it steadily backwards across the slab. Keep a small roll of concrete — about 20–30 mm — rolling ahead of the blade to fill low spots, and overlap each pass by roughly 15 cm. Repeat over any strip that isn't yet flat and closed.
Use a vibrating screed on floor and slab pours, right after the concrete has been placed and compacted in depth with a poker vibrator. It compacts and levels the top surface in one pass, replacing hand tamping and giving a flatter, denser finish. Screed while the concrete is still fresh and before bleed water rises to the top.
Both, with different tools. Compact the depth of the pour first with a poker (internal) vibrator — essential for slabs thicker than about 10 cm — then screed. The screed itself compacts and levels the top layer as you pull it across. So the poker handles the body of the slab and the vibrating screed handles the surface.
A vibrating screed produces a flat, tightly closed surface ready for floating or trowelling, and its own vibration removes the ripples that hand tamping leaves. The achievable flatness depends mainly on how the level is set: a rail or form-to-form screed riding on set rails holds the tightest tolerance, while a rail-free screed guided to a laser level gives a very flat floor without any rails. Consistent overlapping passes and a steady roll of concrete ahead of the blade are what keep it flat.
Not always. Rail (form-to-form) screeds ride on fixed forms or screed rails set to the finished height, which gives a very repeatable level on large, form-defined pours. But lightweight rail-free finishing screeds such as the Lievers HAL200Li and K150Li rest directly on the concrete and are guided by the operator to a laser level, so a single person can level an open floor with no guide rails to set or pull afterwards.
A vibrating screed is used first, on wet concrete, to compact and level the freshly placed slab. A power float (trowel) comes later, once the slab has stiffened, to compact and polish the surface to a hard, smooth finish. Screeding sets the slab flat; floating and trowelling refine and harden the surface.
 Explainer
A plain-language explainer on vibrating screeds — what they are, the main types (wet screed, finishing screed or bullfloat, vibrating beam and truss screed), how surface vibration compacts and levels a slab, and how a screed differs from a poker vibrator in the pour sequence.
Read article How-to
A step-by-step guide to power floating and trowelling a concrete floor — when to start, floating versus trowelling, overlapping passes and blade pitch, working edges, and choosing a walk-behind or ride-on machine.
Read article